Do it yourself intercooler piping
Over here you will find how you can do it yourself and save a lot of hard earned money! As you may know, taking your car to a professional to get intercooler piping done can cost a lot of money. By reading this, you will be able to see how this can be done with just a few simple tools, and a few hours on a weekend.
Items needed: 3 or 4 U (180º) bends (depending how you route the piping). Pipe cutter, hacksaw, Dremel tool with a cutoff wheel, which ever you feel more comfortable with. Some sort of tape to hold the pipes together while doing the measurements. And your choice of spray paint if you want to paint the piping.
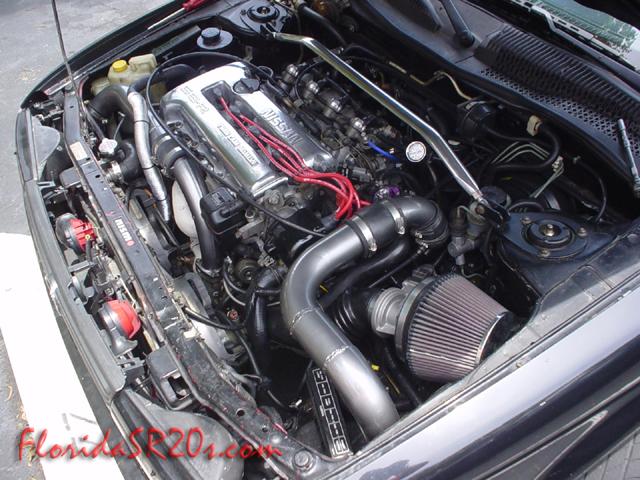
Ok, now you are ready to start. This following setup was done on a 1991 Sentra with a BlueBird T25 setup. The compressor outlet pipe was the original one that came with the kit, and the TB, to IC pipe as well (it was just cut, and angled a different way).
Step 1: You need to draw out how you want the piping routed. The hot side piping on this car was run behind the headlight, so the water sprayer reservoir could be kept in place. If you plan on doing it like this, you will need to cut a small piece of the sheet metal behind the headlight to make room for the piping. Nothing a Dremel tool cant handle.
Step 2: Time to make the necessary measurements, mark the piping, and cut. Best thing to do is cut the 180º pipe in half, and this way you have 2 90º bends. Of course if you need a wider angle like a 45º bend, you will need the 4th 180º pipe. This was needed for the hot side piping. Once you cut all the pipes, tape them together, and make sure everything lines up, because if it doesn't, you will have fitment problems after you get them welded.
Step 3: Number all the pipes in order, and make a marking so you know how they go, or just leave them taped together, and take them to a muffler shop to get them welded together. On this car, the hot side was done at a different time than the cold side since because of fitment issues with the battery, so it took two trips to a muffler shop. If that wasn't the case, the price would have come out cheaper. IMPORTANT: make sure you get the ends of every pipe beaded, if you don't, the couplings will pop off under boost. (personal experience).
Step 4: If you plan on getting the pipes coated, that's nice, but if you're trying to do this as cheap as possible, spray paint will work just fine. DupliColor Engine Enamel was used for this setup. It comes out really nice.
Now you are ready for some pictures.
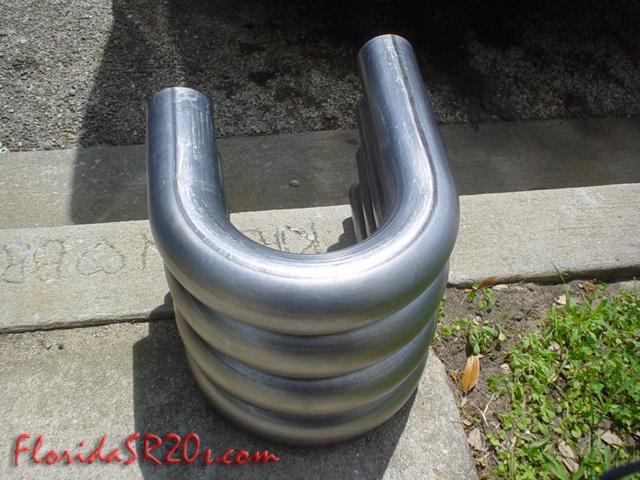 Here are the 4 U bends used. |
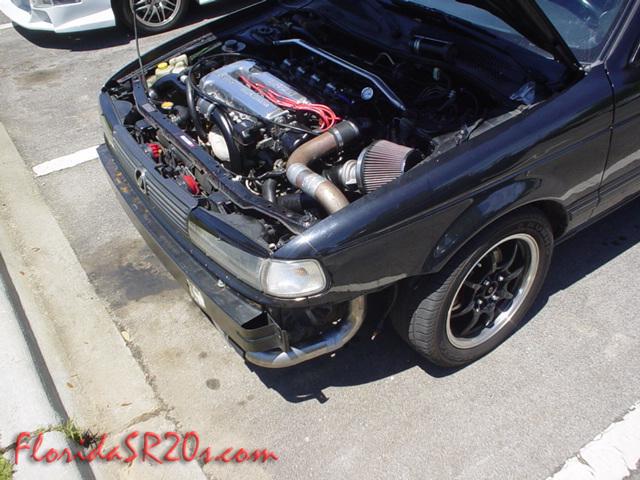
 Test fitting the hot side piping. |
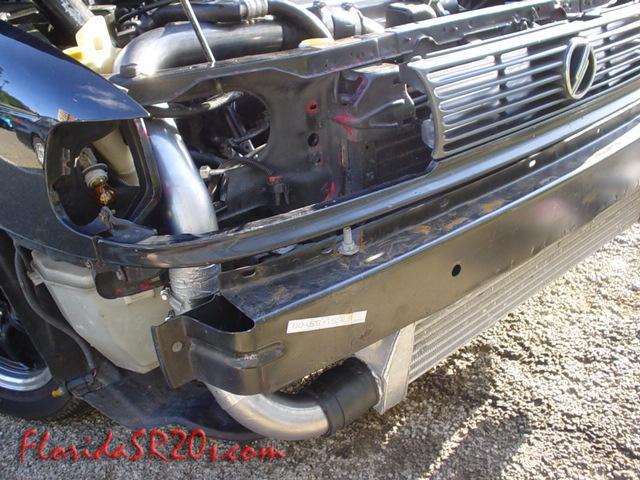
 Test fitting the cold side. |
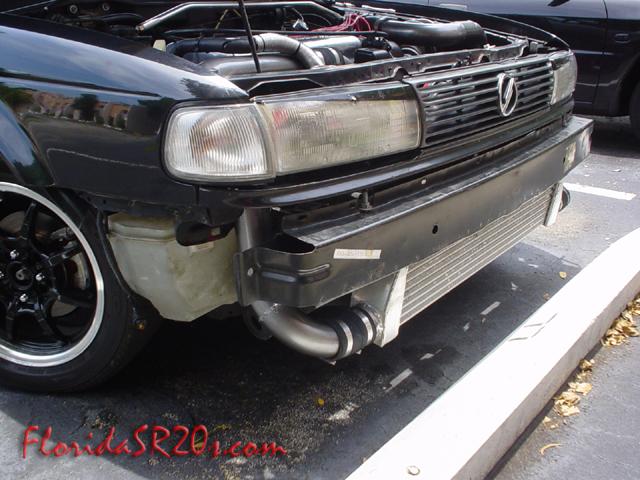 Hot side, welded and painted. |
 Cold side, welded and painted. |
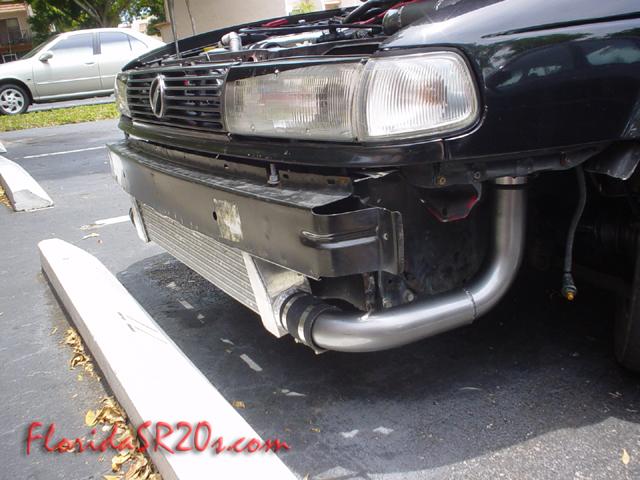 Cold side again. |
